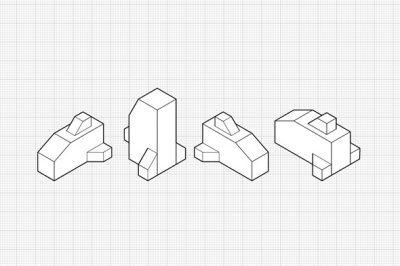
The technical drawing, as we understand it today, was developed thanks to the French mathematician Gaspar Monge (1746-1818). The graphical representation methods that existed until that time did not make it possible to convey the idea of objects completely, correct and accurate. Monge created a method that allows to represent, with accuracy, the objects that have three […]

Technical drawing: Complete handout
Project FactoryTechnical drawing, FPH, HFP, Technical Material, Mechanical ProjectsCompound court, Partial cut, Total cut, Dimensions of basic dimensions, Quotation of items, special quotes, Drawing isometric perspective, Scales, surface state, Geometric figures, FP, technical drawing interpretation, More than one cut in orthographic views, half-cut, MT, What is technical drawing?, Cut omission, Perspective ...... parallel and oblique, isometric perspective ..... several, Rotation projection, Orth projection. of geometric solids, Orth projection. and isometric perspective, orthographic projection ... miscellaneous elements, orthographic projection ... parallel and oblique, Orthographic projection of flat figure, Special representations, Section and shortening, Quotation systems, Suppression of views in composite parts, Suppression...prismatic and pyramidal pieces, Dimensional tolerance, geometric tolerance, Mechanical Video Lessons2 Comments on Technical drawing: Complete handout

